I’ve been loving my new tablet. This is my fifth sketch I have done on it. I’m using Sketchbook pro for tablets and the Spen stylus that came with my tablet.
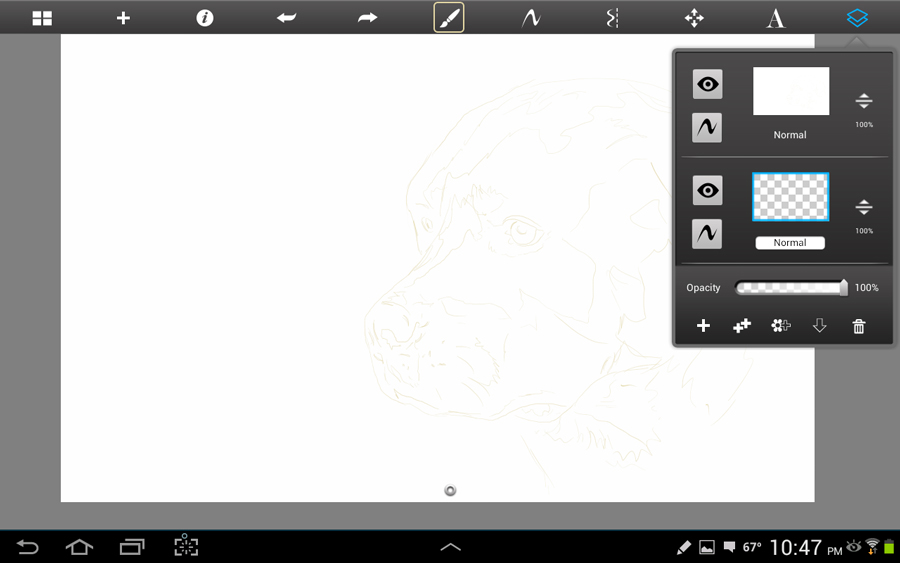
Getting started on this sketch I used the pencil “brush” in a light color for the basic outline of the dog.
Now that I have my sketch I add a layer.
I move that layer behind my first so that I don’t lose my guide lines.
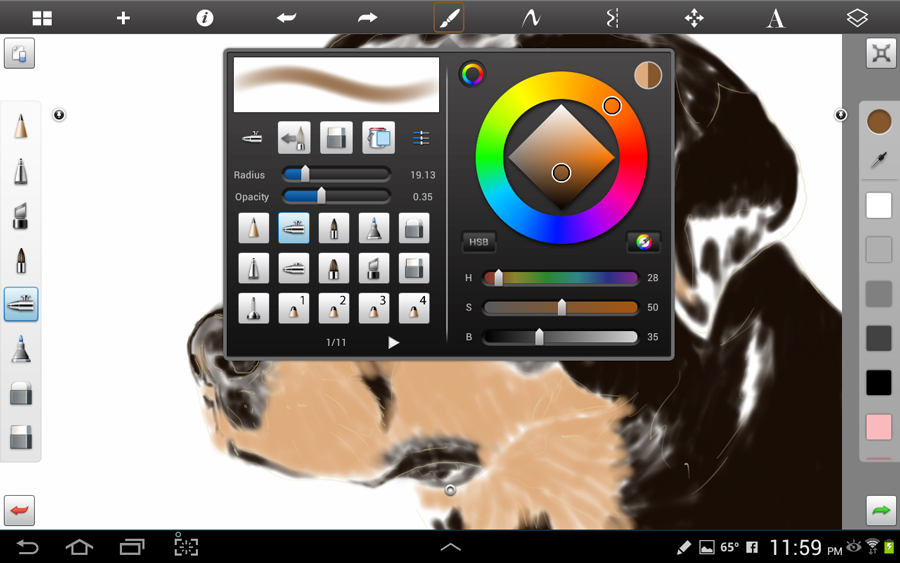
Now I switch to the airbrush “brush” and to a black color to start layering in my blacks on the dog.


I’ve changed my brush settings to be more transparent for these next areas.


Now to a deeper brown to start building up depth.


You can zoom into any area you need to for detail work with the standard pinch to zoom feature. I’ve started working on the eyes here.

Switching colors now to a blueish grey for the highlights on the black areas.
I’ve now blocked in those greyish blue areas.

I switched colors again, still working with the airbrush “brush” to add some deeper redish browns to the dog.


Now I’m going back and adding more darks, this time keeping it very transparent.


Still adding more shading with the dark colors.

Time for a new layer, this one will sit on top of my others.

I’m now switching “brushes” to the pencil and using a black with a higher level of opacity.

I’ve added a bit more detail to the eyes. and have started cleaning up my edges with an eraser tool around the outside of the face.

My initial sketch is now getting in my way so I go to “layers” and change its visibility. I don’t delete it just yet in case I want to use it as a guide later on.

I’m building up the black lines with the pencil brush now to create texture.

Once I sketch in a lot of these lines I go back with an eraser set to be fairly transparent and go over the lines I previously added to soften them up. I’ve also gone back to the airbrush tool and made small fairly transparent dots over the nose for shine and texture.

Back to sketching with the pencil “Brush”. Now I am switching to lighter colors to go over some of the black areas.

Time for another layer. I’ve dropped this layer back behind the dog to use as the background.

I’m using the airbrush tool again, this time with a huge radius and mid range opacity to keep a nice soft look.


Once I have that blocked in, I go back in with a darker shade on the same background layer. I then add another layer on top to play with a different texture brush tool on the background.


Good news is I can easily delete that layer and try something else.

Much better. I’ve use a couple of other brushes on different layers of the dog by this point to build up texture. I had to be awake in a few hours so I called this done for now and went to sleep 🙂


